
Why hello there. Long time has passed since my last tutorial.
So you are bored. You want new skins and still you can't find anything that pleases your eye.
Well my friend, that time is over.
______________________________________________________________
Chapter I
Getting ready
Getting ready
So for this you will need 3 programs:
- GCFscape
Download: http://nemesis.thewavelength.net/files/files/gcfscape131.exe
- VTFEdit
Download: http://nemesis.thewavelength.net/files/files/vtfedit125-11.exe
- Photoshop/or any other image editing program
- corel
- Photoshop elements
- gimp
- etc
If you have Photoshop, download it here: http://nemesis.thewavelength.net/files/files/psvtfplugin1011.zip
______________________________________________________________
II Chapter
Using GCFscape
Using GCFscape
So we finally have everything we need. Cool. Let's start using these bastards.
Close Steam (Seriously)
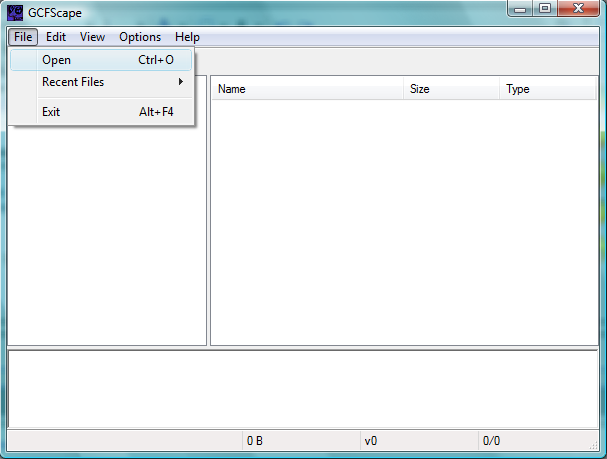
Start GCFscape and go to Open:
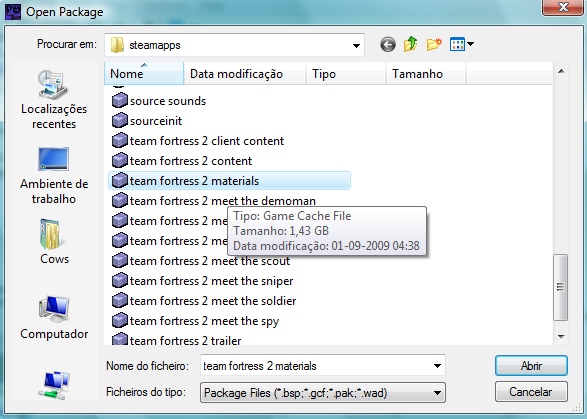
Then go around Steam/steamapps. See those purple boxes? Scroll down a bit until you find "Team Fortress 2 Materials".
K, double click it and now you have what apears to be a directory.
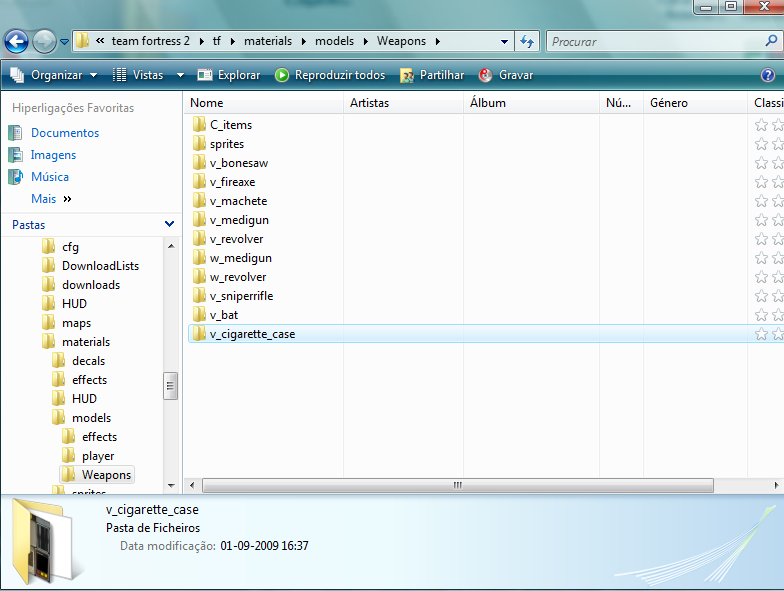
Go tf>materials>Models>Weapons:
Everyting you see now are a bunch of folderes, some with a v_ and some with a w_. Also you have a folder that says C_itens, that folder contains the weapons from the new update.
V_"weapon" - Is how you see the skin in first person
W_"weapon" - Is the skin in the third person
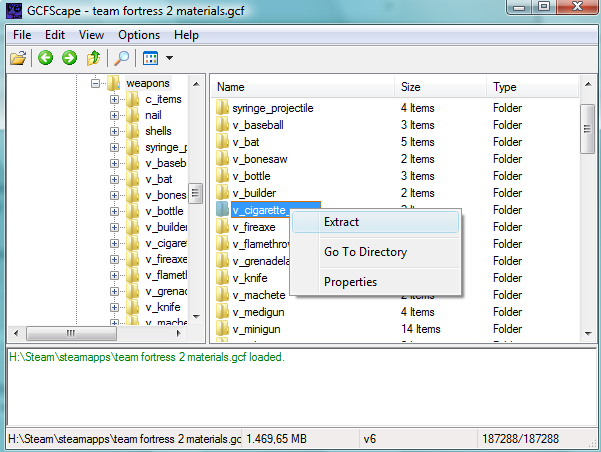
Choose you weapon (the one you want to skin). I'll choose the cigarrete case.
Right click on the folder and click extract, and extract it to whereever you'd like:
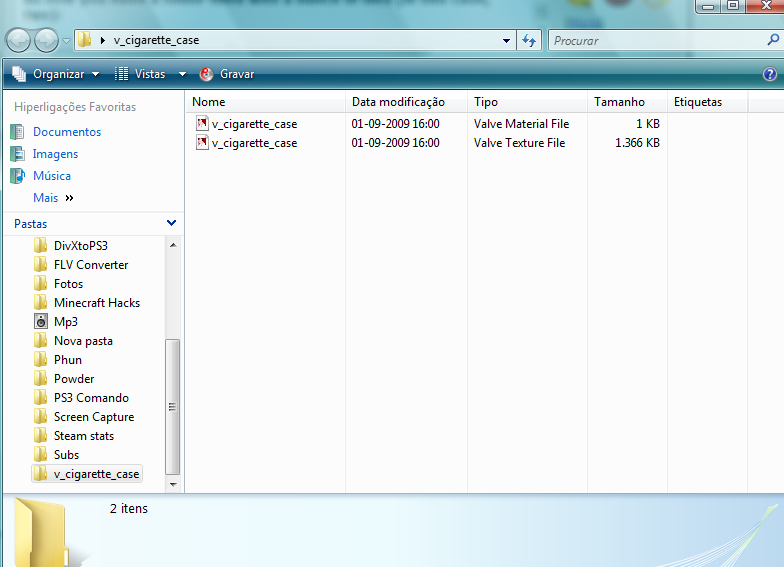
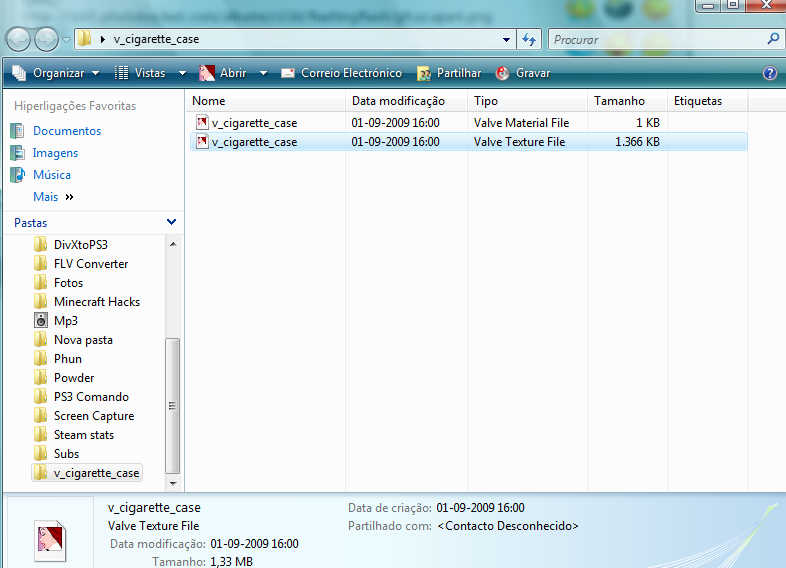
So now you have a folder filled with a bunch of files (in this case, two):
______________________________________________________________
III Chapter
Cleaning the dust out of VTFEdit
Cleaning the dust out of VTFEdit
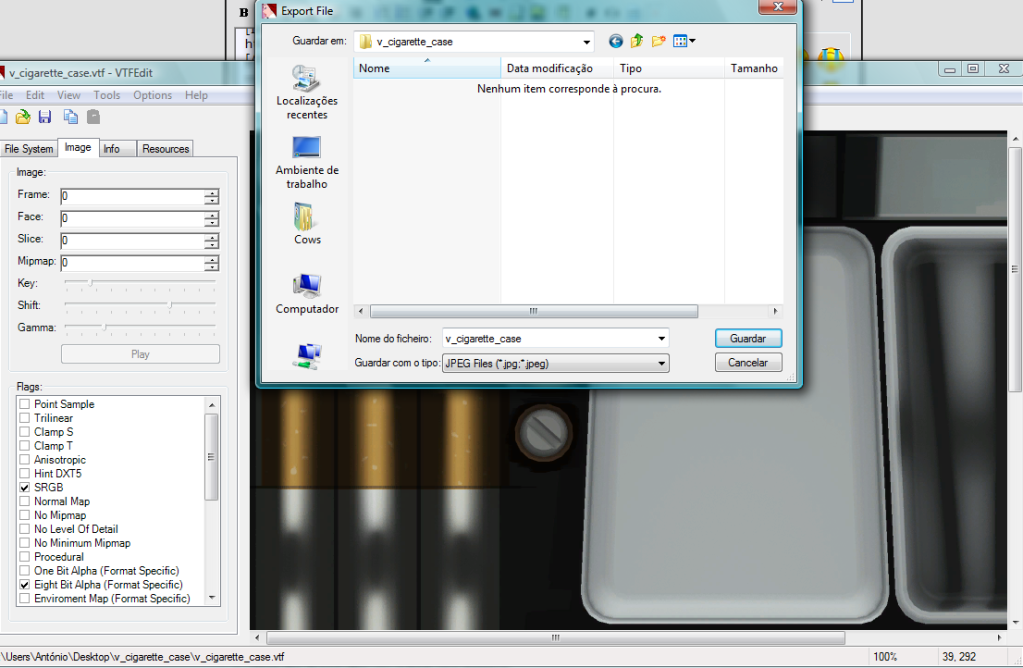
Ok. Now. See which of those files has the extension "Valve Texture File" and double click it:
Now while in the editor, go to File>Export>Export as:
And save it has a .jpeg (reccomend) into the same folder where the "valve texture file" is OR If you have Photoshop with the .vtf plugin, you can right click the "valve texture file" and Open as>Photoshop:
Ok, you have a image file(.jpeg) so you might want to go and use it on your prefered editing program. On your image editing program go to Open>And find your skin .jpeg image
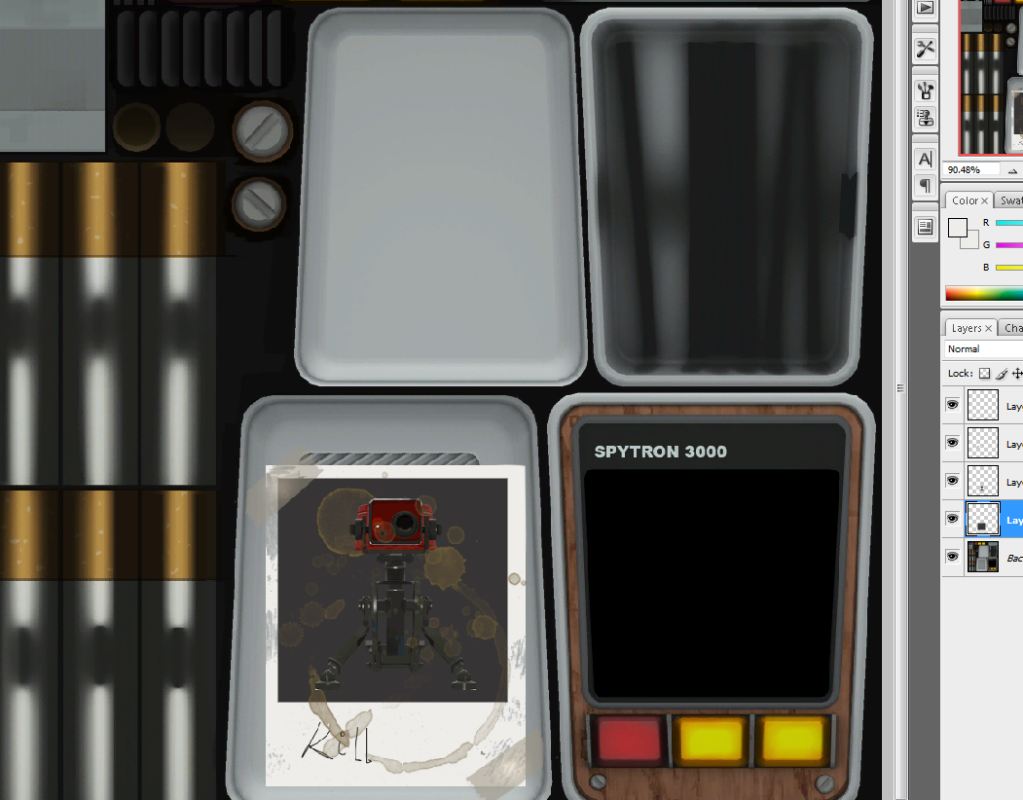
Add and change whatever you want.
Here's mine:
______________________________________________________________
IV Chapter
Extraction
Almost finished!
Now, there are two paths you can follow:
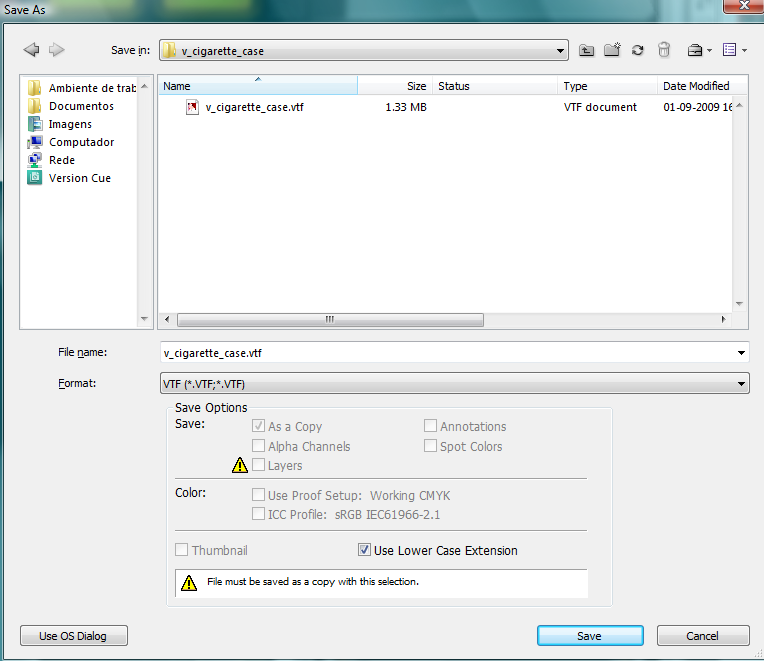
- If you have Photshop and the .VTF Plugin, you can simply go to File>Save as>.VTF (also remember that the name must be the same as the originals name, overwriting the existent one. In my case, the file will have to be called "v_cigarette_case.vtf":
If you used this metohd, skip to the V Chapter.
- Or the other path requires you to turn the file into a image and then make it a .vtf file. So save your edited skin image file in the same folder as the others. Then open VTFEdit and go to File>Import and import you edited image:
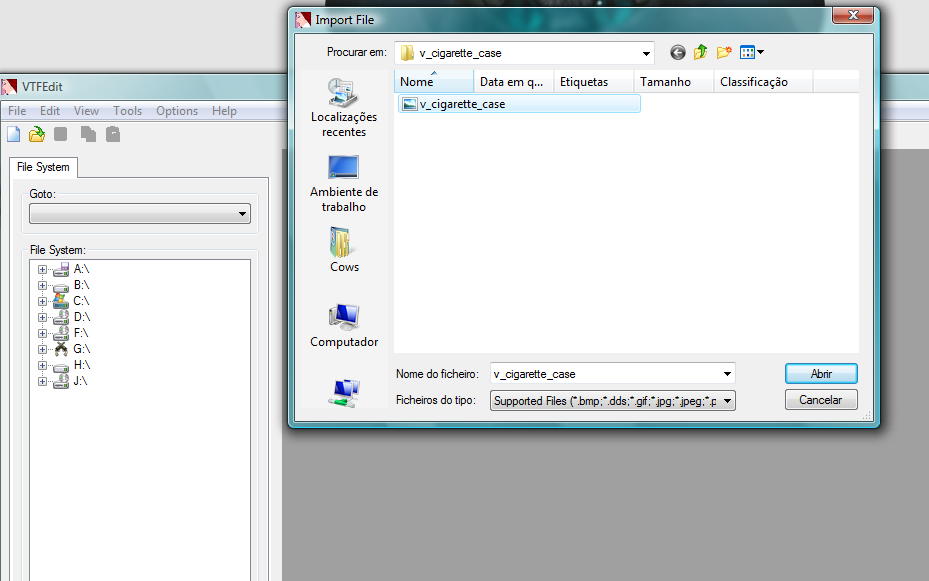
After that, go to File>Save as>.VTF File
Again remember, the names must be the same as the original so this will be called "v_cigarette_case.vtf".
______________________________________________________________
V Chapter
****, are we done yet?
****, are we done yet?
Yes Jimmy, we are almost done.
Just grab the folder where all of that is on (should be called v_cigarette_case), and paste it all in the following directory:
Steam\steamapps\SteamUsername\team fortress 2\tf\materials\models\Weapons
And you are ****ing done.
Go and enjoy getting ass whoped by your own custom designed guns.